3D Printed Bobbins for My Antique Spinning Wheel
Back in August, I picked up a mostly intact antique spinning wheel.
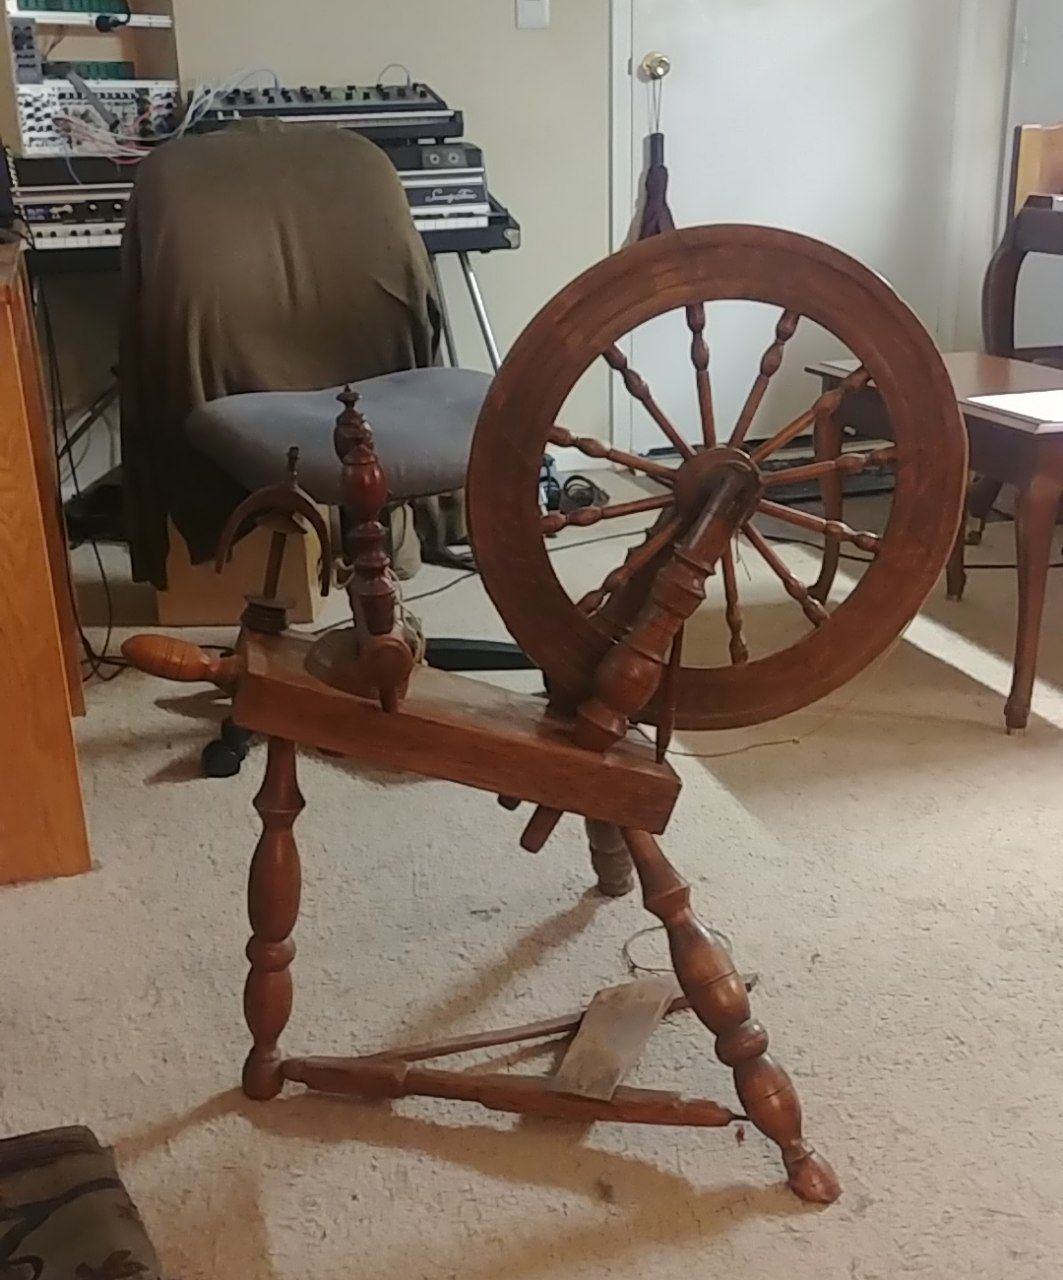
All the wooden parts were in good shape, except for a missing distaff. The belt and footman were old cotton string that needed replacement, all the old leather parts were cracking, and one bearing to hold the flyer was missing. A trip to The Scrap Exchange got me all the materials I needed to repair it, and soon I was learning to spin. With one problem: I had only a single bobbin, and the old wheel doesn't use bobbins of a standard size, so I couldn't buy replacements.
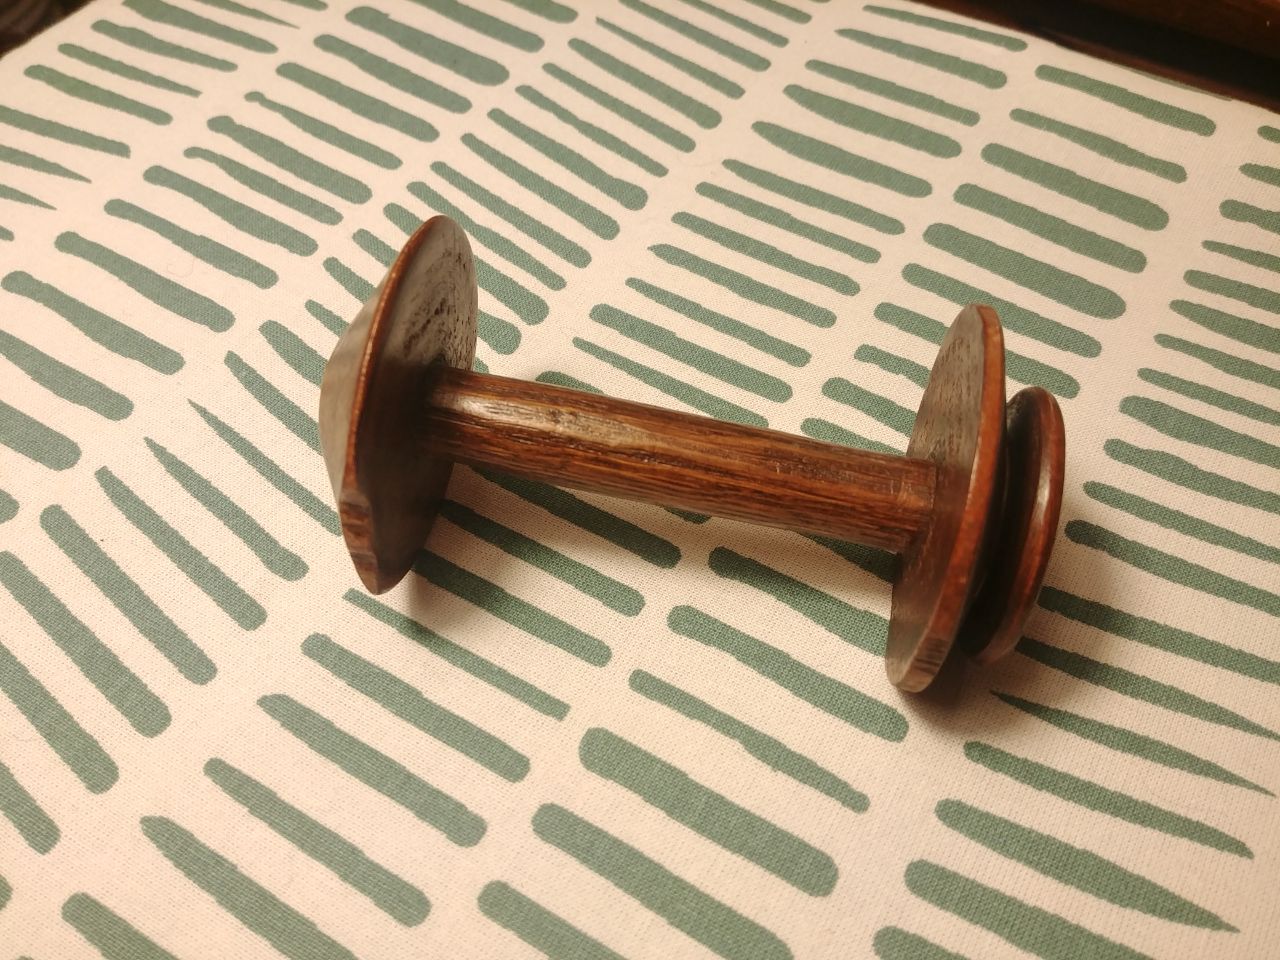
Spinning with a single bobbin is very limiting. I could only spin a single yarn directly. With the help of my yarn swift, I could then unspool the yarn and chain ply it, but that's a rather challenging way to ply, and has its limitations. So I resolved to create some new bobbins.
3D Printing to the Rescue!
A little modeling in FreeCAD netted me a three piece bobbin. But I wanted bearings of some kind, not just a 3D printed sleeve spinning around a shaft. My antique wheel of course doesn't have a consistent diameter on its axle though, making anything like a ball bearing out of reach. So in the interest of simplicity, I bought some 1/4 in. ID nylon standoffs, cut them to a reasonable size for bearings, and glued them in the 3D printed flanges. The result? A new bobbin that fits like the original, but has an enlarged flange to allow me to spin more.
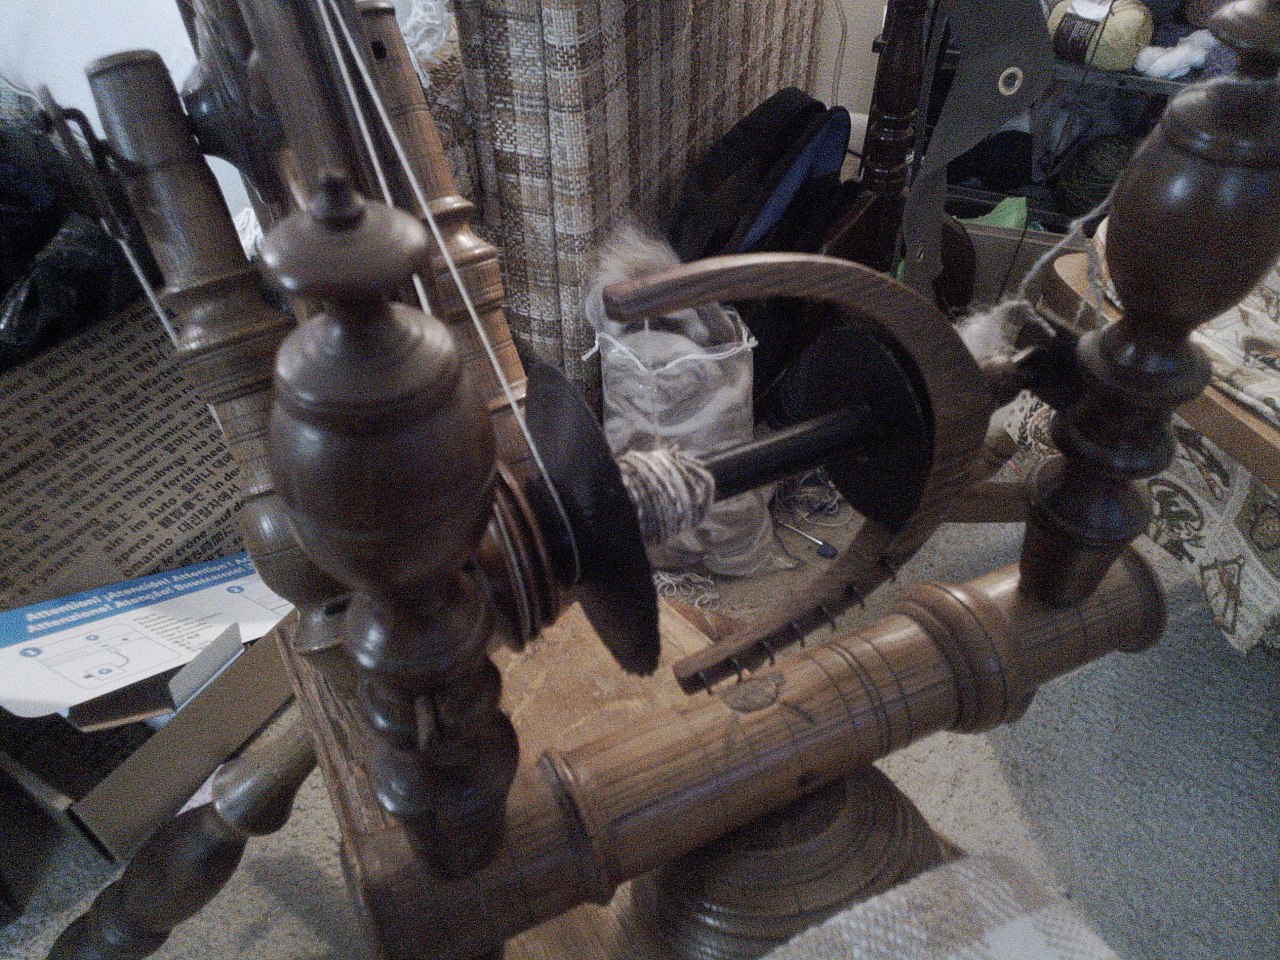
After running the printer for a day or so, I had five bobbins, enough to easily spin a four-ply yarn. I figure that's a good starting point, so I stopped there for now.
⁓Clara